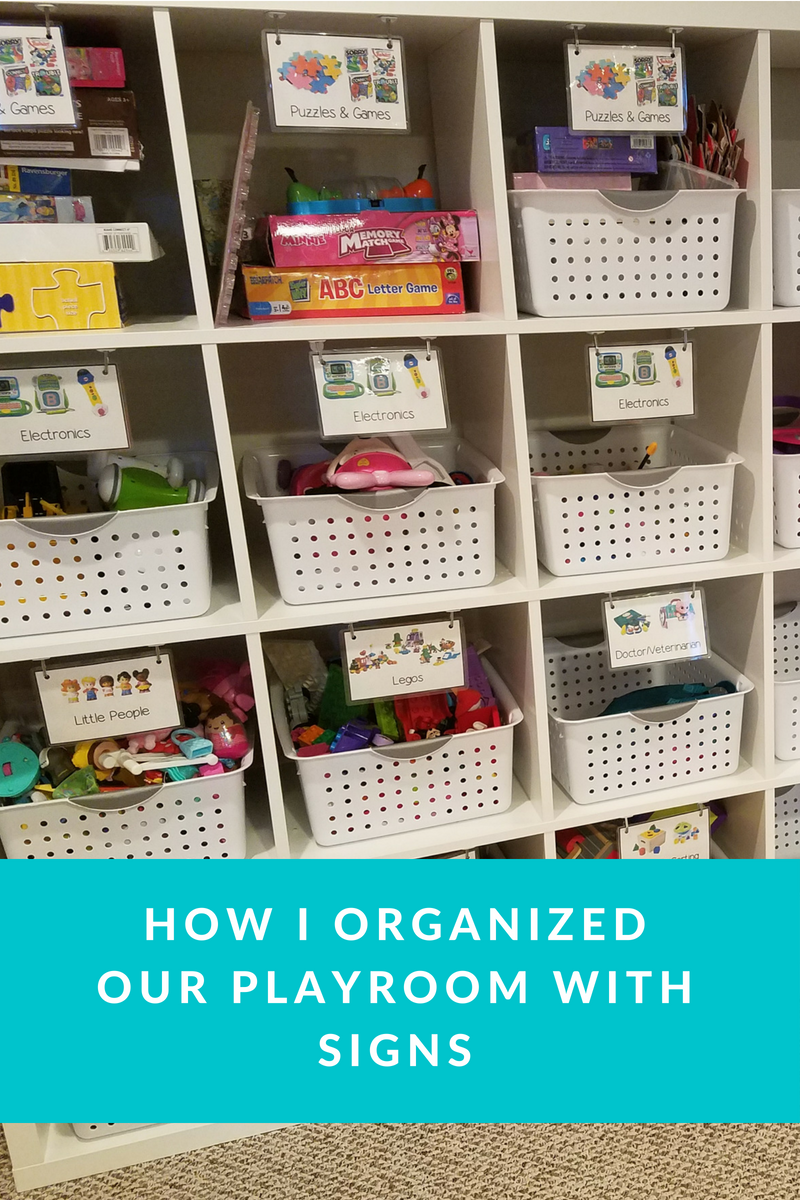
When we moved, we decided to reorganize the toys. We got rid of the organizers that didn’t work for us, and went to Ikea and purchased shelves from the Kallax series. I purchased baskets that let the kids see inside, so they knew where their toys were, however I wanted to go a step further and label the shelves.
I used Adobe Photoshop to create labels, and Illustrator to print them together on a 8.5″x11″ on my home printer.
I used a paper cutter to cut the signs out before laminating, so I’d have a clear border on the outside versus a white border if I laminated first and then cut.
I then used my laminator I purchased on Amazon to laminate 3 signs at a time (I made them 4″x6″, so 3 fit in 1 laminating sheet.)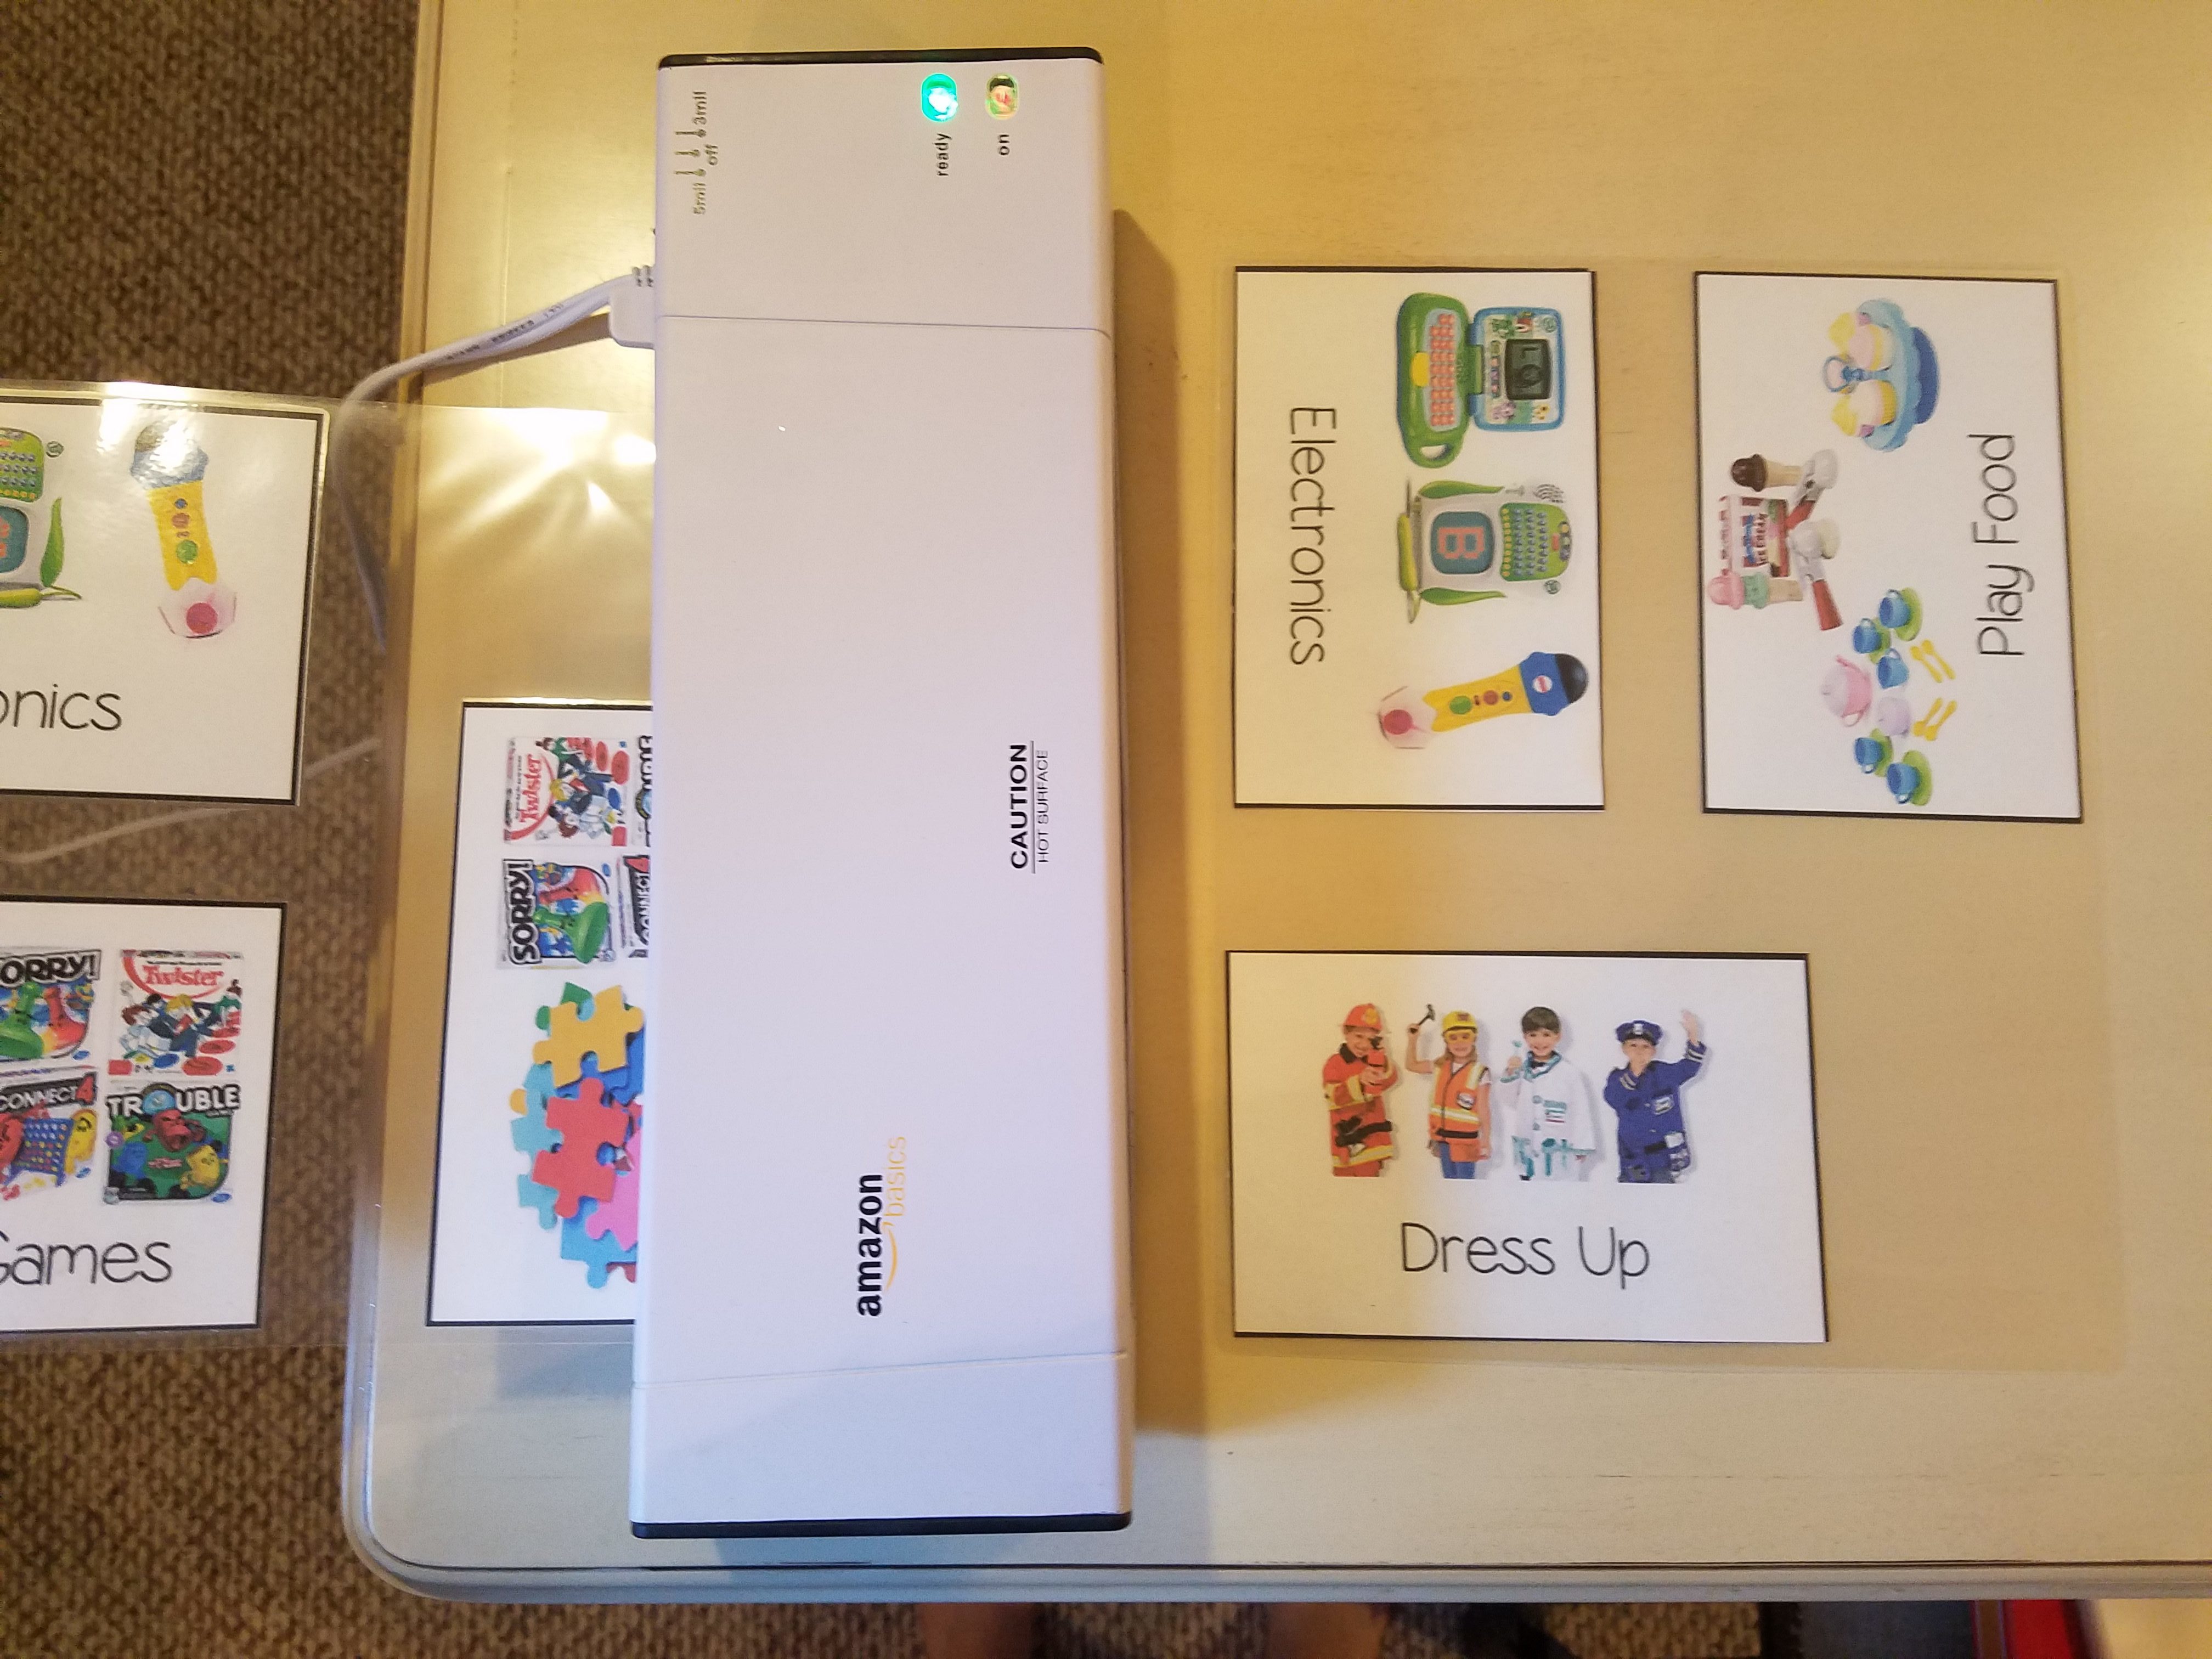
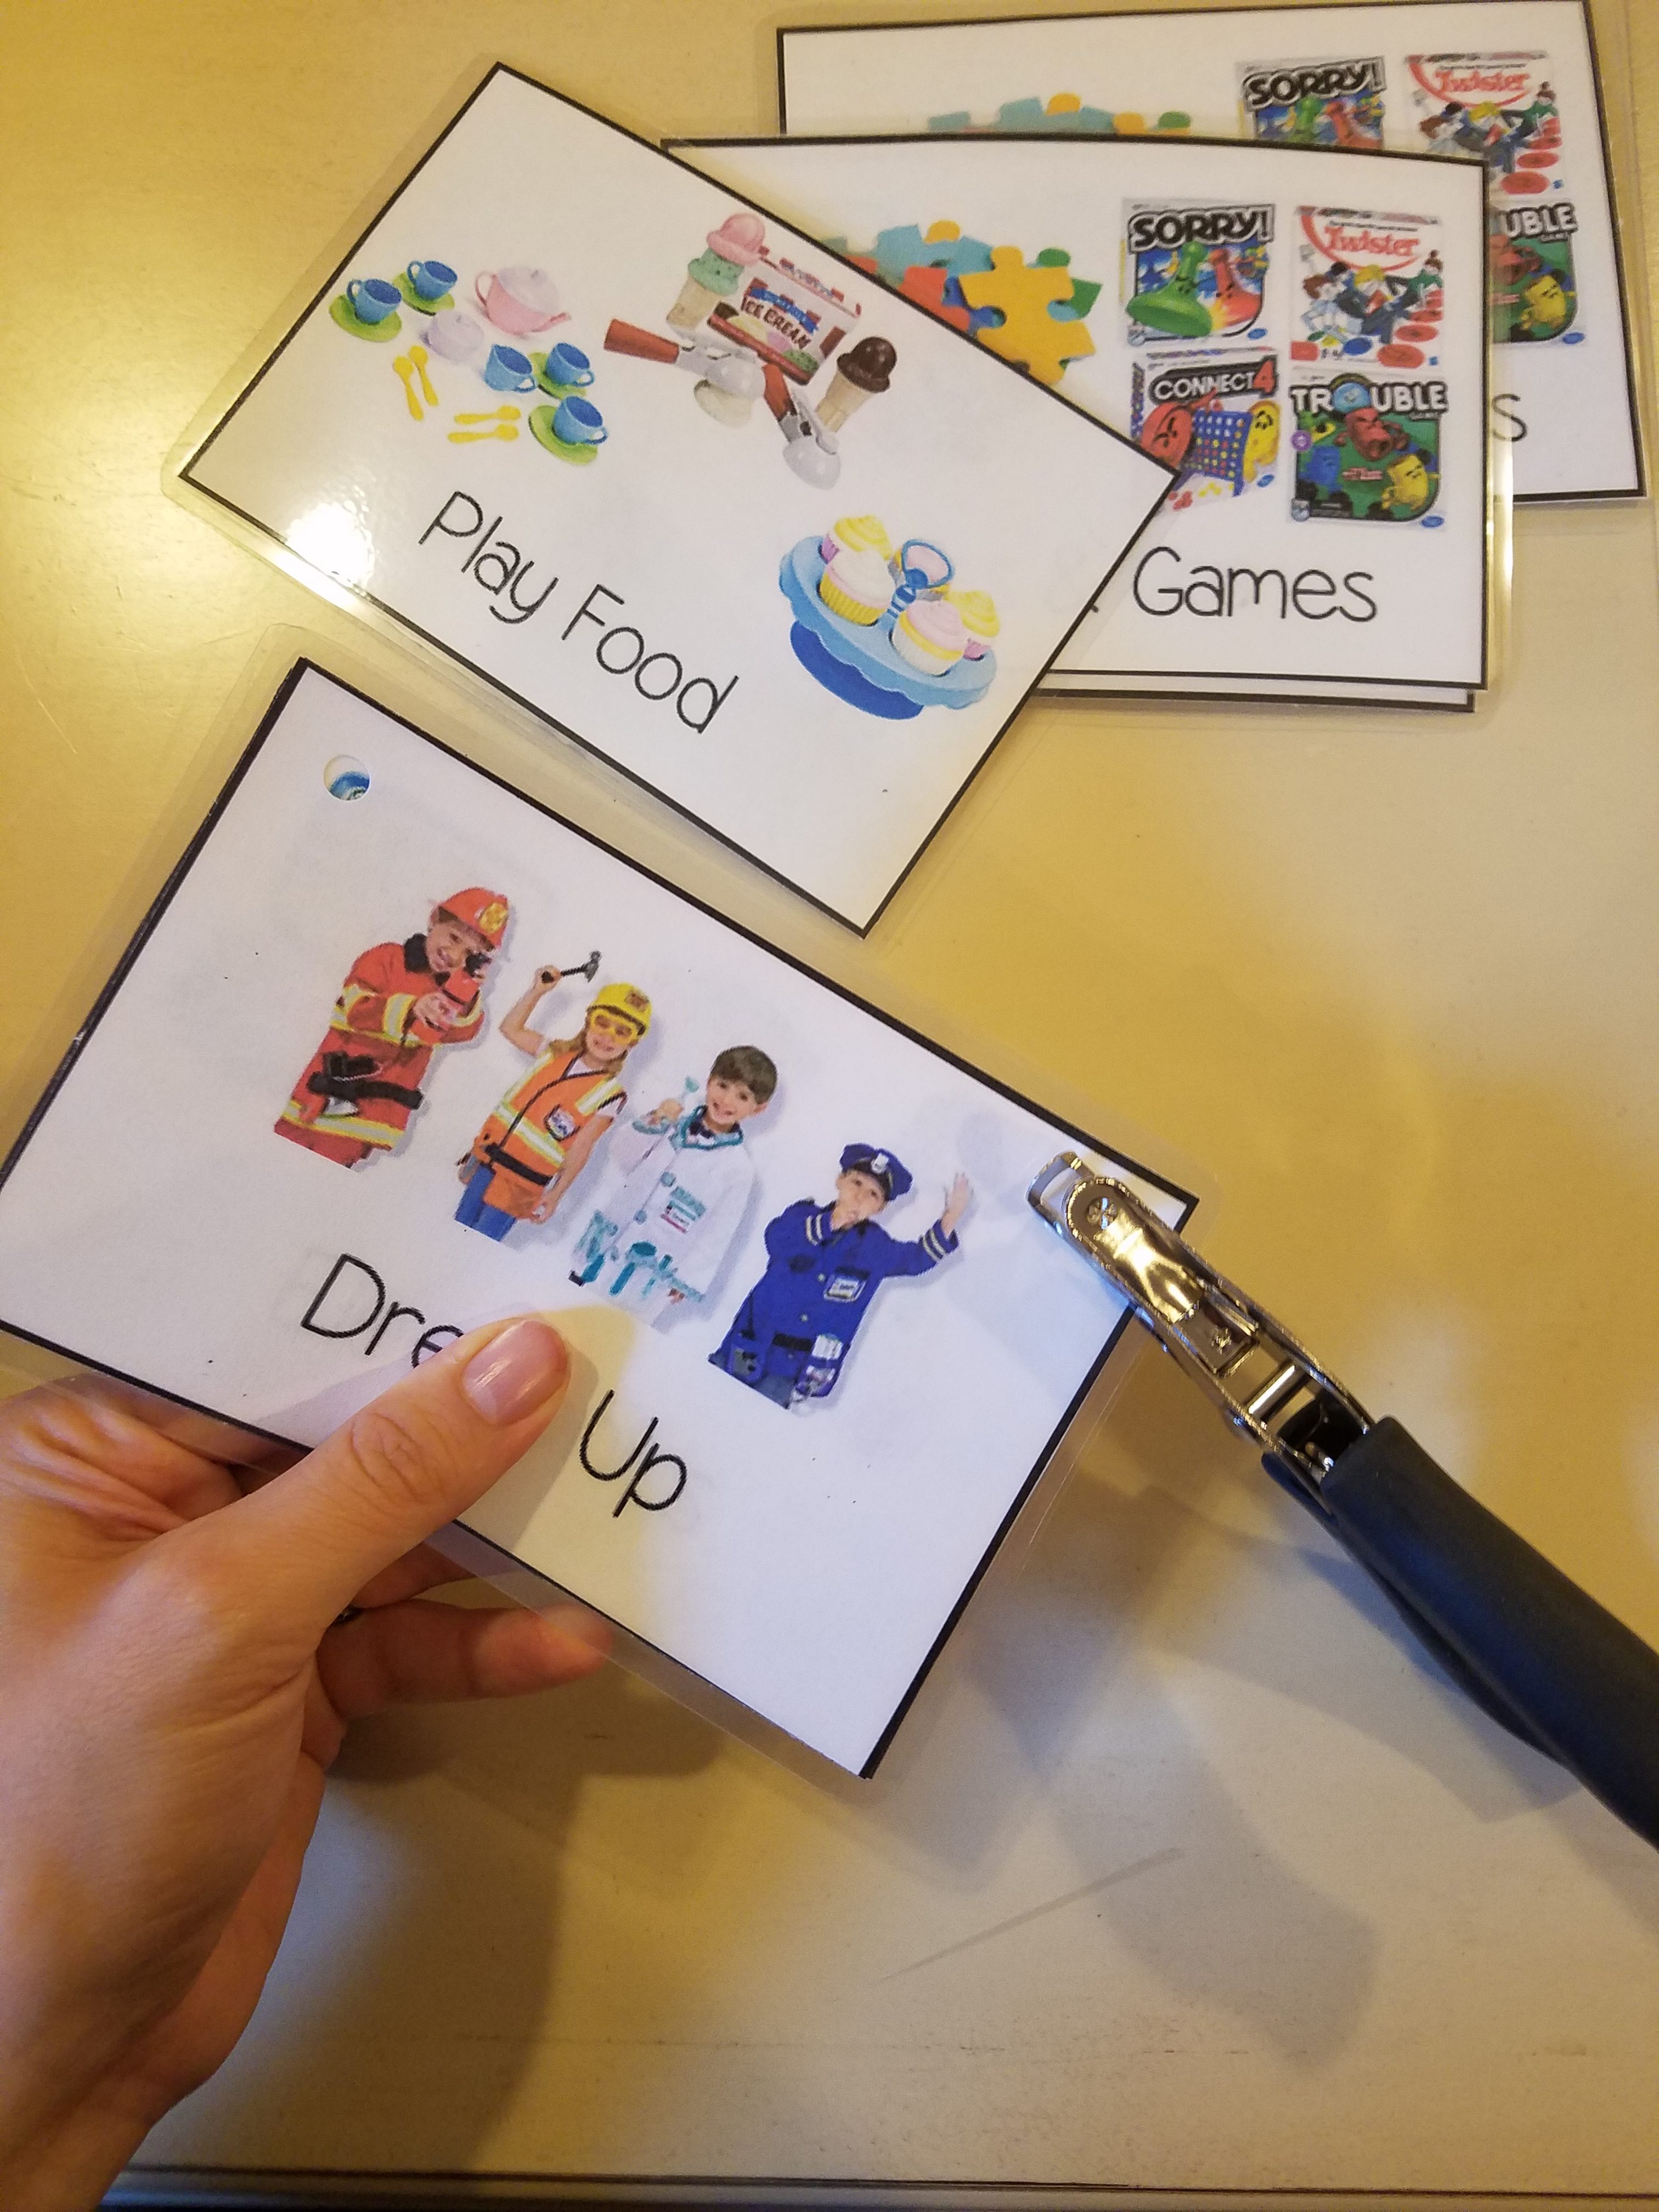
Once I completed laminating, I punched holes on the top of the signs and used the first one I did as a template. A regular hole puncher will punch through the laminated sheet. I tried to make them all uniform so I could switch around the signs if I needed to.
I then placed the Command Hooks (we squeezed the metal part closed tighter with pliers) into the punched out holes, and placed the command strip on the hook.
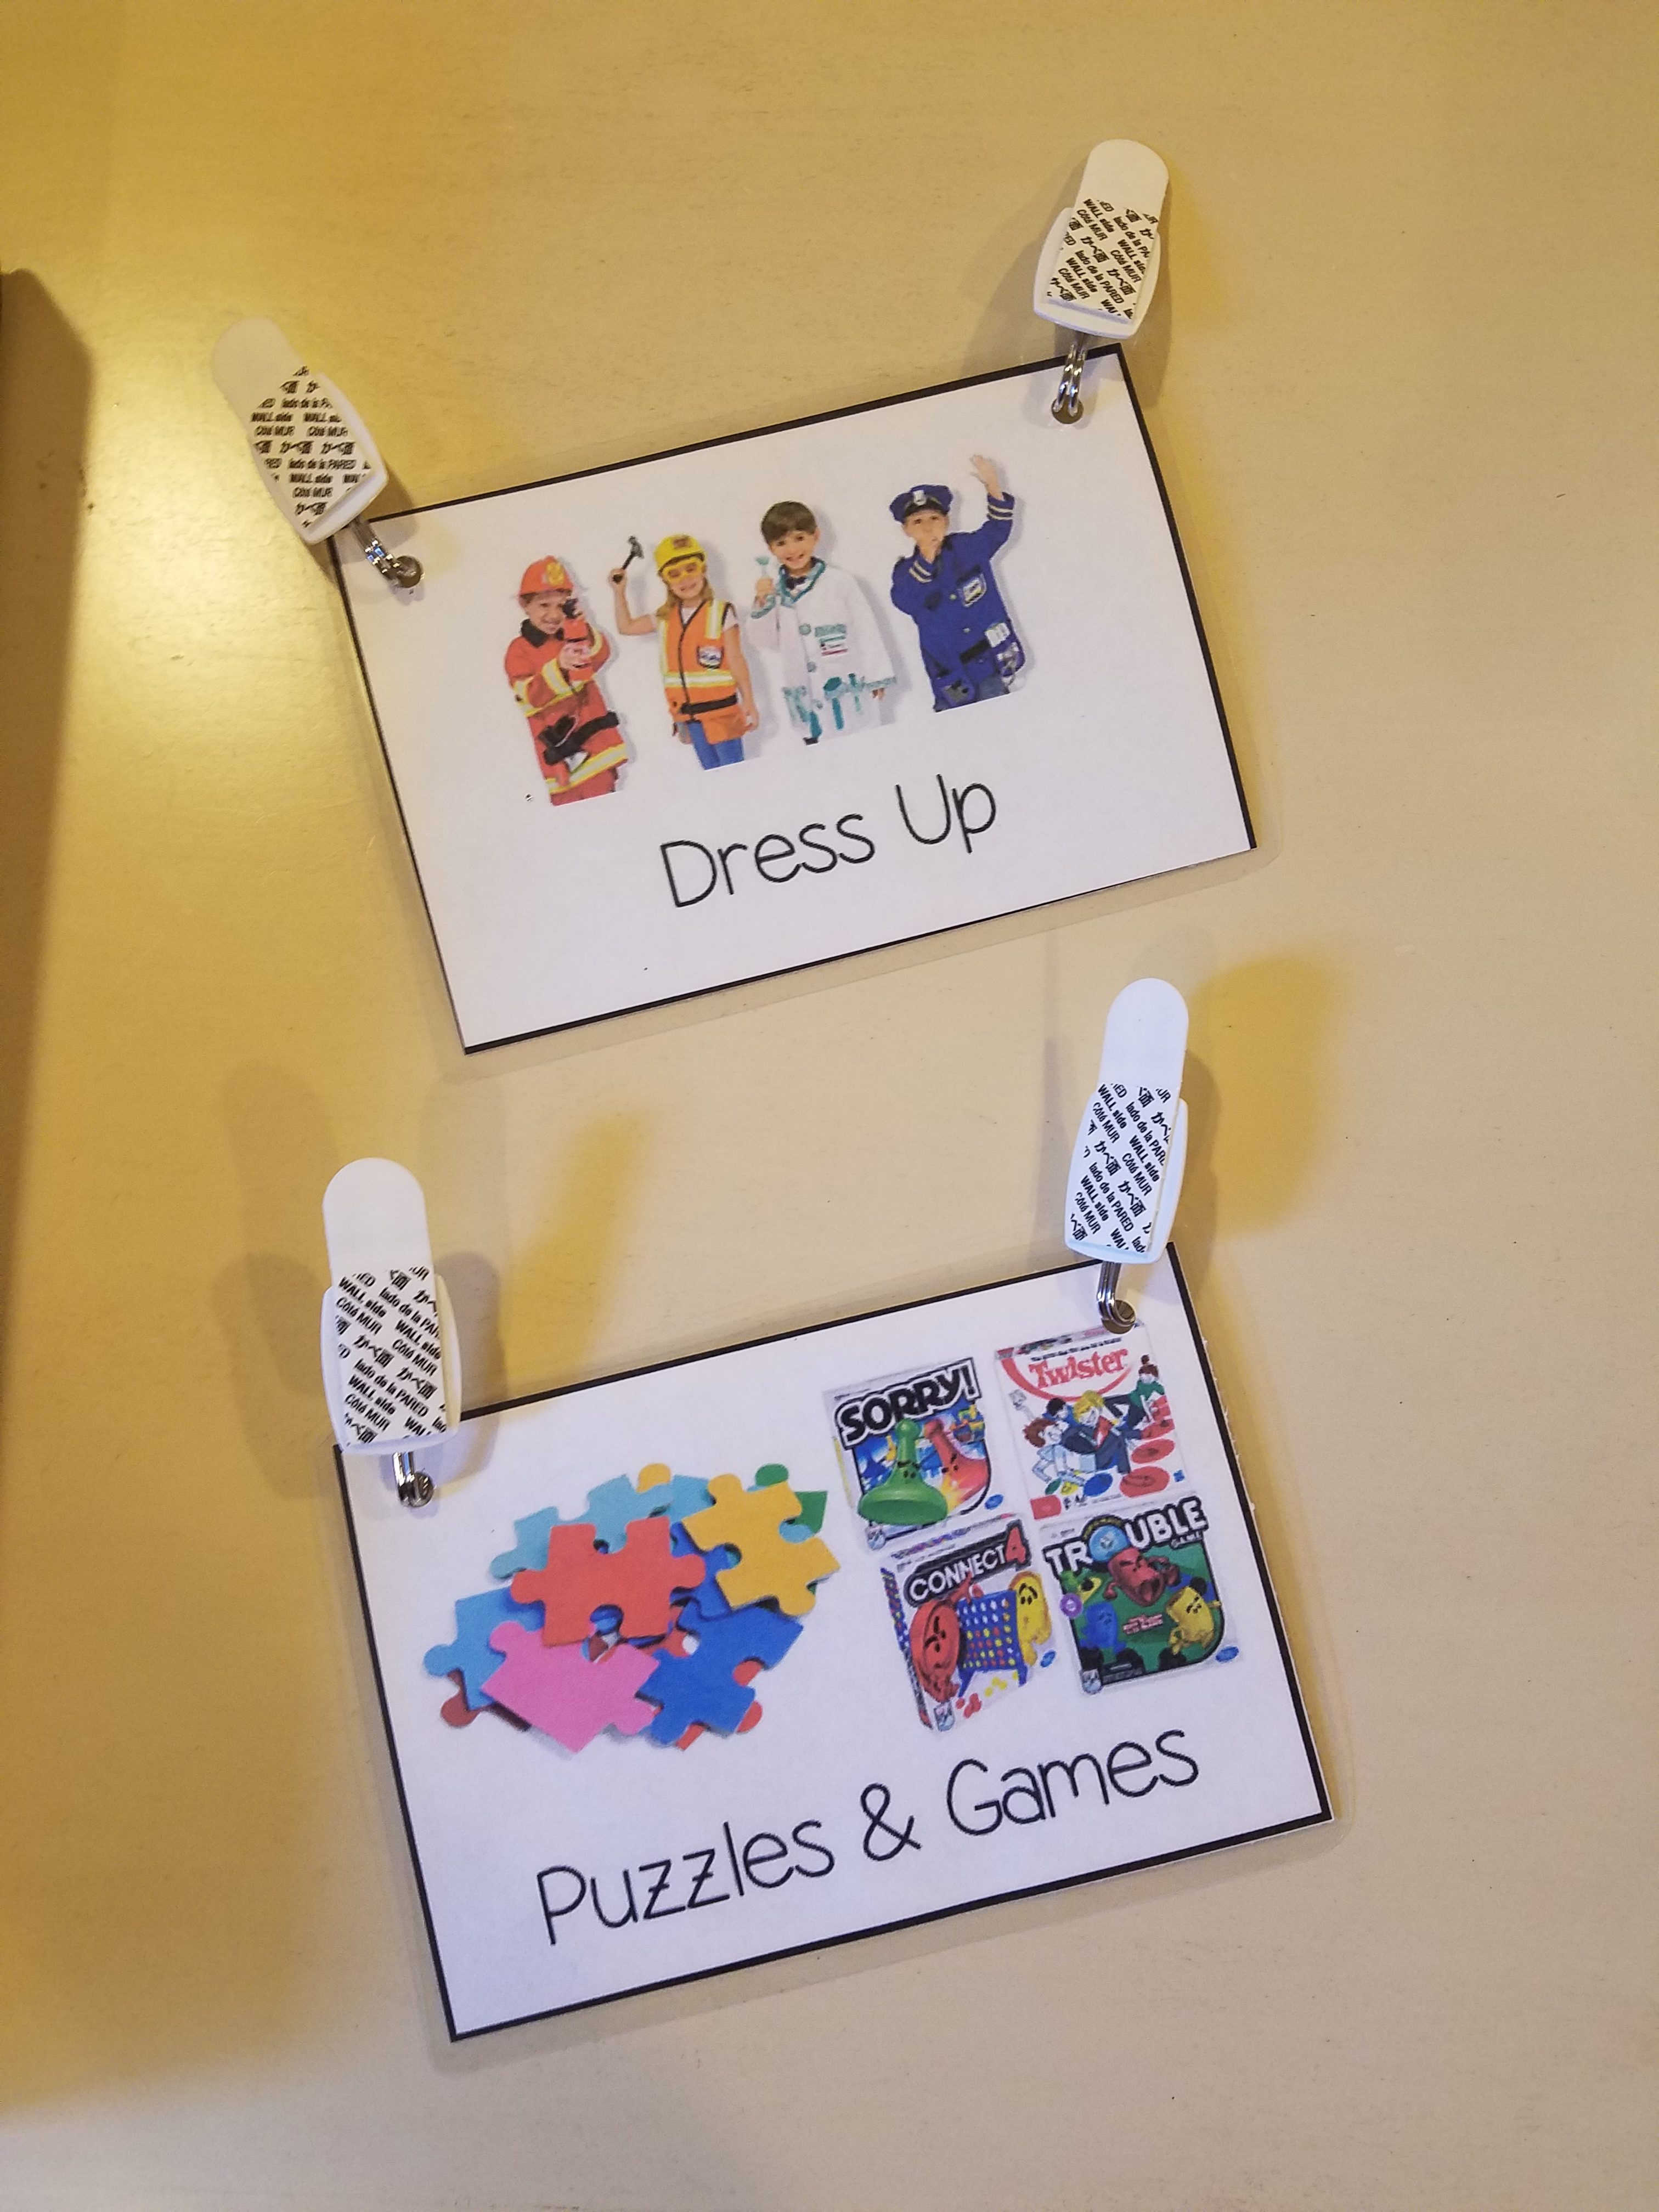
I then removed the adhesive from the top of the command strips and placed them on the shelf.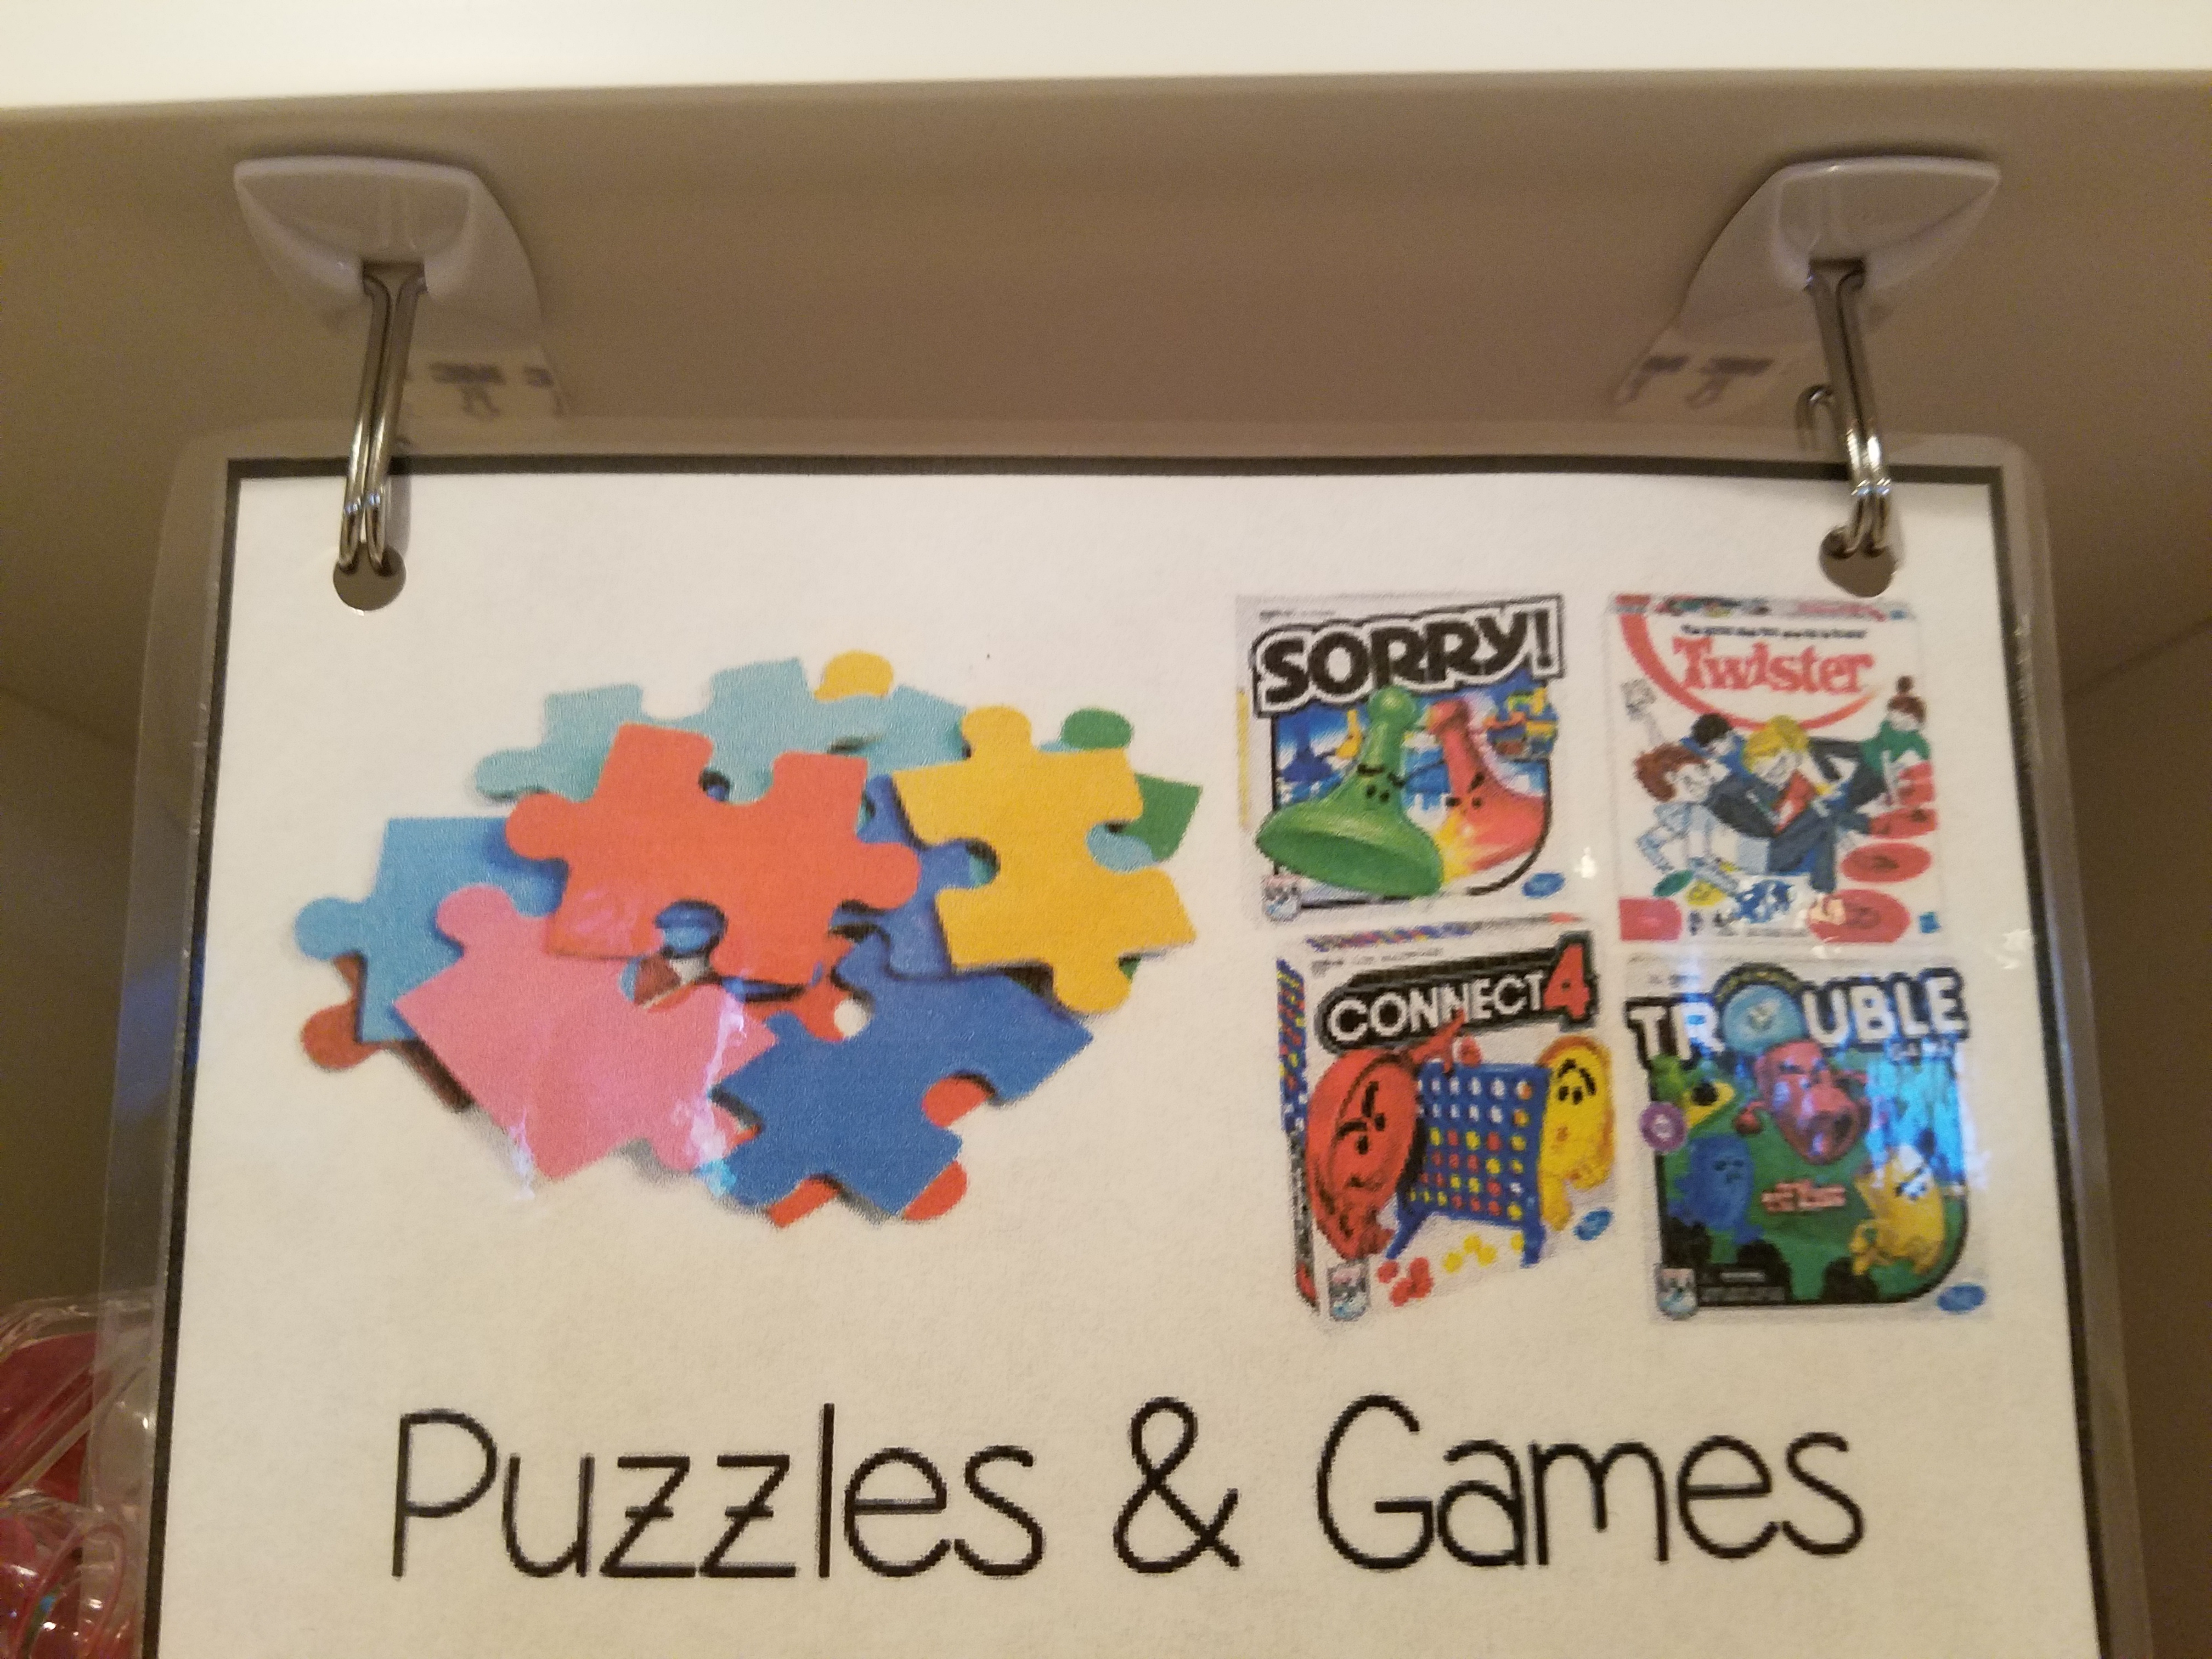 The signs helped organize our toys so nicely, that we ended up having 3 empty bins!
What I used to create this organized play space:
I put the puzzles and games up higher so my kids have to ask to take them out, versus having everything taken down and opened by them all at once. The heavier bins I put on the bottom so they only need to slide them out.
This post contains affiliate links.

