THIS POST MAY CONTAIN AFFILIATE LINKS
I’ve been using my Instant Pot for awhile now, but this was my first time ever making meatballs in it. I was definitely nervous I was going to find ground turkey teriyaki mush instead of balls. I was also very surprised (and happy!) that the meatballs stayed together with no gluten! I found these Gluten Free Chickpea Breadcrumbs
that leave the perfect amount of crunch as opposed to regular breadcrumbs and I thought they were the perfect compliment to this recipe.
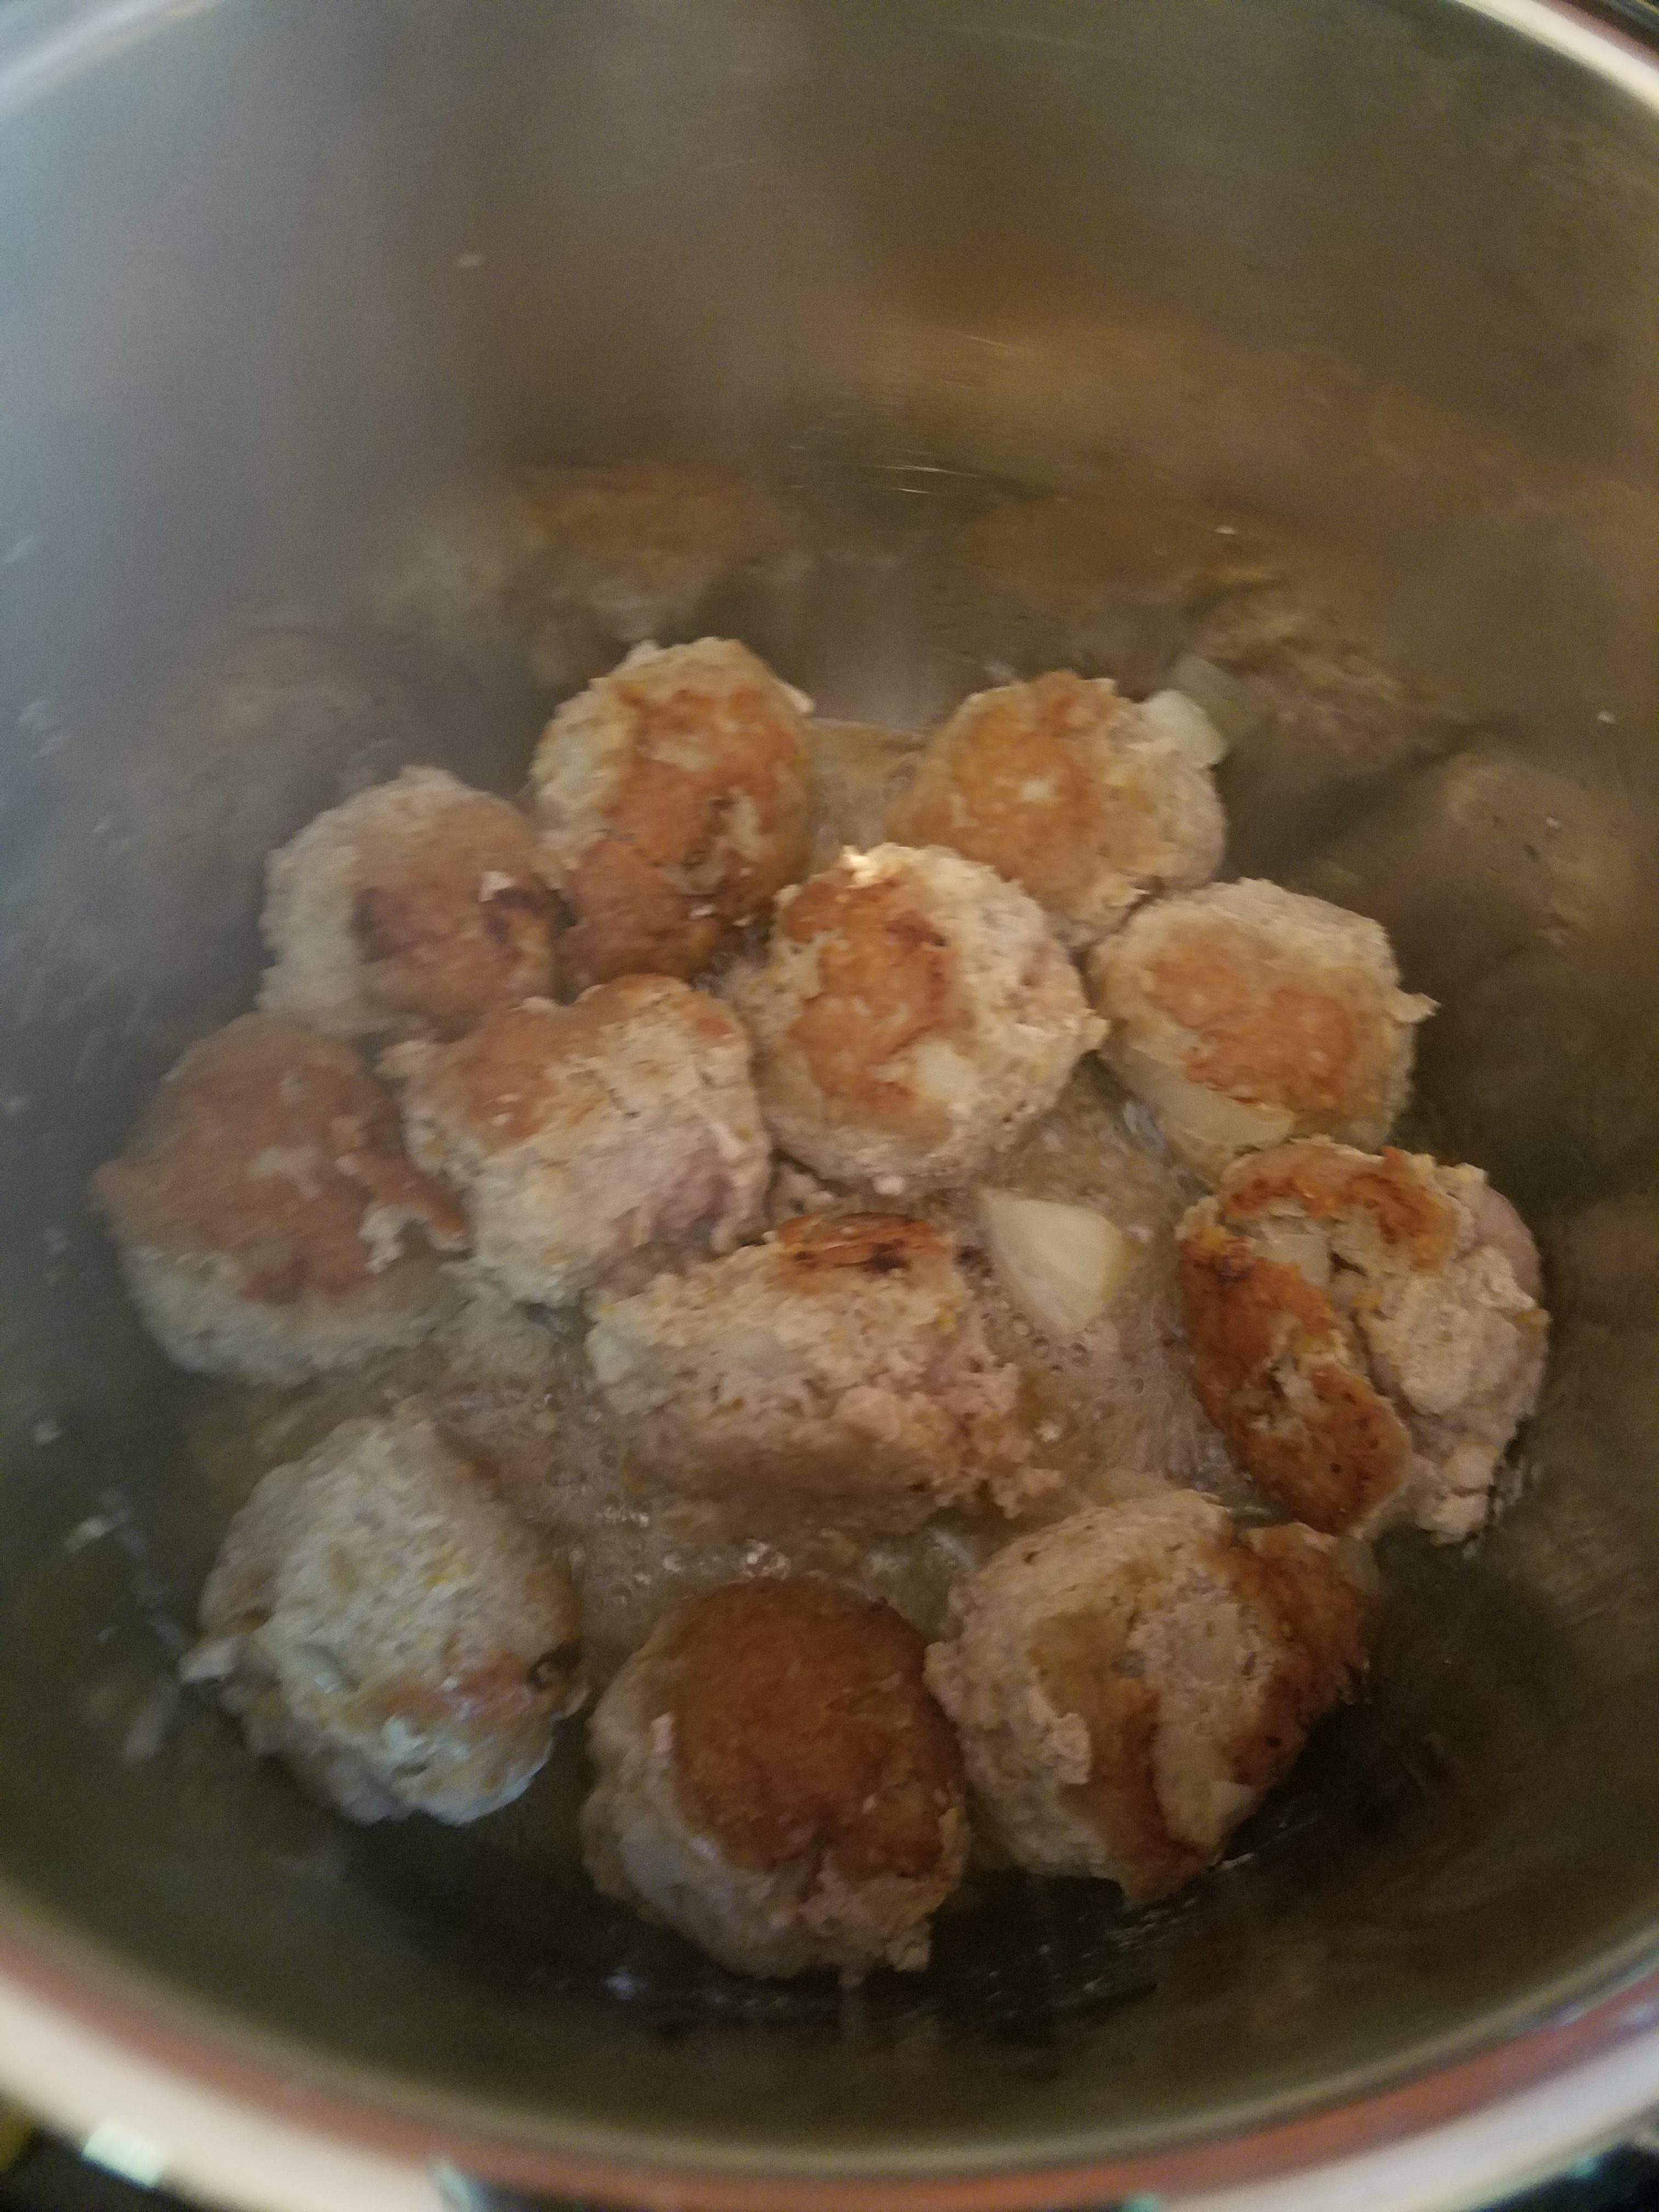
1 pound of meat fit perfect in 1 layer in my Instant Pot.

I browned the meat on all sides,
and while it was browning, I mixed the sauce together.

After browning, I poured the sauce in and set it on Manual 10.

I let it naturally release pressure for 10 minutes and served immediately.
I served mine with some pineapple on the side to add sweetness.

Meatballs
1lb ground turkey
1/2 cup breadcrumbs (I used these GF Chickpea Breadcrumbs)
1 egg
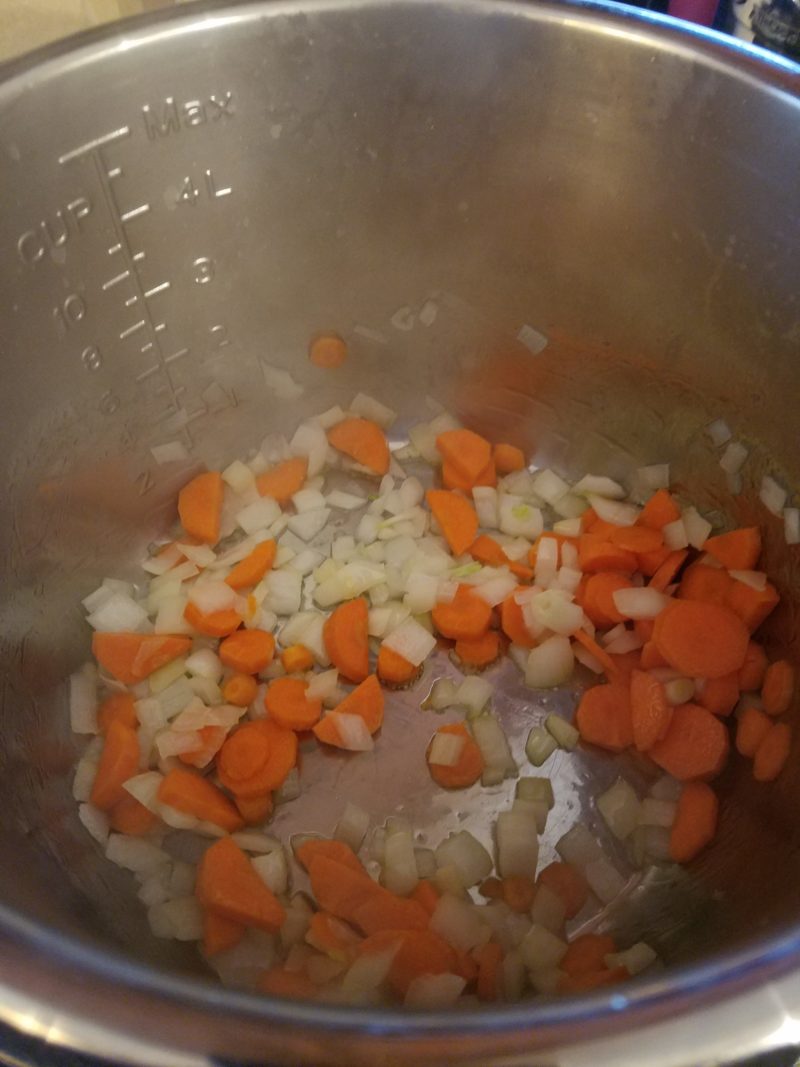
1/4 cup yellow onion
1 tsp garlic powder
black pepper
1tbsp oil
1/4 tsp ginger
Sauce
1/4 cup soy sauce (I use Gluten Free Tamari)
1/4 cup coconut aminos
1/4 cup water
3 cloves garlic
1/4 cup yellow onion
2 tsp ginger
3tbsp oil
1.5 tbsp coconut sugar
black pepper
1tbsp corn starch
1. Add your oil to the Instant Pot and turn it on the sauté normal feature. Gently mix together all of the remaining ingredients for the meatballs. Form balls and place in the instant pot.
2. Once the oil is hot, brown the meatballs on all sides. While it is browning, mix together the ingredients for the Teriyaki sauce in a small bow.
3. Once the meat is browned on all sides, leave the meatballs inside the pot, shut off the sauté feature and add the sauce.
4. Set the pot on Manual for 10 minutes. Once it is done cooking, let the pressure natrually release for 10 minutes before opening the pot.
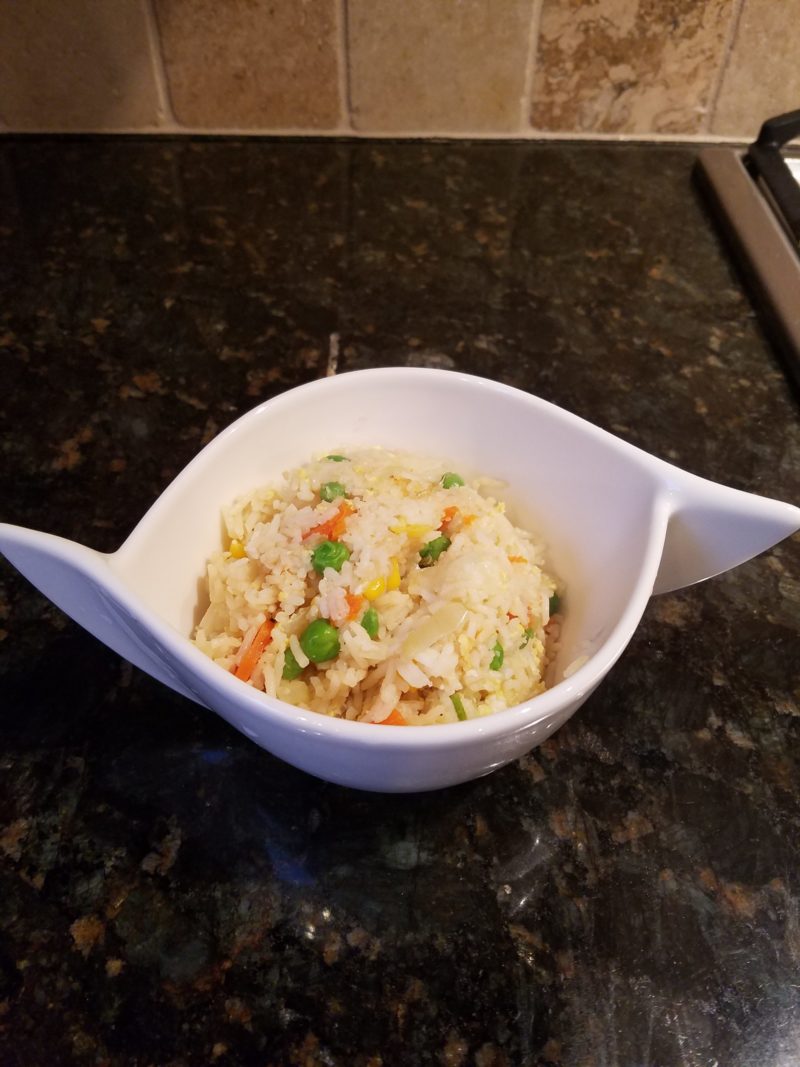
I served this over Jasmine Rice and with pineapple on the side.